Showing posts with label How To. Show all posts

❤ Engagement Party Invites ❤

Hi Lovelies,

We have our Engagement Party coming up soon and I thought I would share with you how I made our Invites :o)

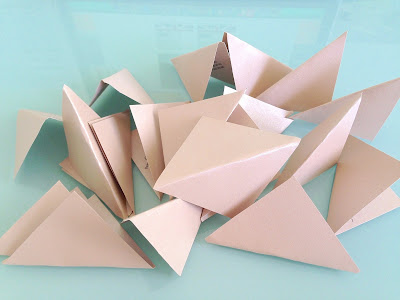
I already knew that I wanted to make the invites myself so that they would be more personal and unique, so I did some research and decided to make origami hearts!!


 What I used:

A4 100gsm White Paper
Rose Gold Sheen 120gsm Paper 
Matching Rose Gold Envelopes
(from Card & Caboodle)

These measurements will make a 10.5cm x 12cm Heart

Cut out white paper to 29.5cm x 14cm


 I've taken pictures of each step or you can watch a video tutorial here


 I then printed the invite wording onto the Rose Gold Paper, cut them into diamond shapes (8.2cm x 8.2cm), folded them in half and then inserted them in the fold of the hearts.


All done!!


I then put the hearts into the Rose Gold Envelopes and sent them to the guests!!
 

I hope you enjoyed this post!!

Let me know if you give it a go :o)

Have a great day


MissTango2

xoxo

Instagram:  misstango2
Facebook:  misstango2

Lauren Conrad Bun & Bow Hair Tutorial

Hi Lovelies,

First off I want to say a big Happy New Year!! 
I hope you had a wonderful festive season and I wish you all the best for a great year!!

I saw this picture of Lauren Conrad on my Pinterest just before Christmas and fell in love with the style and bow accent - I wore it a lot over the festive season and got lovely compliments.


I posted the picture on my Facebook Page and asked if you wanted to see a Tutorial and a lot of you said - yes!! 

Here is the Tutorial video and some pictures:


What you will need:

1.  Hair Band to create a high pony tail

2.  Bobby Pins

3.  Make a Sock Bun


4.  Choose a pretty ribbon and make a bow


If you have any questions, let me know :o)


MissTango2
xoxo

Colouring Rice for Makeup Brush Holders

Hi Lovelies!

Hope you're well!

From my 'Current Favourites' Video, I got a lot of requests on how I coloured the rice that I use in my Makeup Brush Holders. 

Here is the video:


And here is one of my Makeup Brush Holders:


It's very easy to do - as I'll explain now.

First off you'll need to get a nice holder - I found my glass holder which is suppose to be a vase at a cheap shop for $2 so I got two.

And then you'll need the following:

1.  1/2 cup of Rice - can be any kind 
2.  Few drops of Food Colouring - can be any colour you like :o)
3.  1/4 cup of White Vinegar
4.  2 Containers
5.  Sieve
6.  Plate
7.  Kitchen paper towels

This recipe makes 1/2 a cup of Rice - so depending on the size of your holder - you may want to make 2 or 3 batches at once.


Step 1


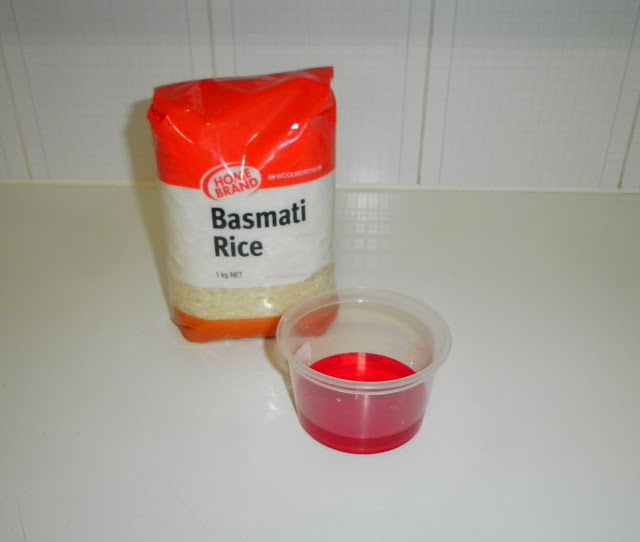
Measure 1/4 a cup of White Vinegar and pour into 1st container.
The reason why you use vinegar is so that the rice holds the colour and doesn't go mouldy over time.

Step 2


Take your choice of food colouring and add 4 drops of it to the vinegar

Step 3


Measure 1/2 a cup of rice and add it to the vinegar.

Step 4


Mix the rice and vinegar together to make sure all rice is coloured. Leave it for about four to five minutes.

Step 5


Pour the rice through the sieve into the 2nd container.

Step 6


Taking your plate and kitchen paper towels, spread rice on to the paper towels.

Step 7


Place it outside in a well ventilated and sunny area and leave to dry.

I bring mine in at the end of the day and leave to let dry even more over night. Then the next day you are ready to use it in your Makeup Brush Holder!

If you don't like the smell of the Vinegar (like me) then I wait a day or so before I wash the rice and then once again leave to dry out in the sun and overnight and then you're done!

You may want to repeat the process or make double/triple the quantity to fill your Makeup Brush Holder.


I hope you guys give this a go if you like it and please let me know how you go if you do!!

Any questions, let me know :o)


MissTango2 
xoxo